


Homemade Rain Gauge

I will be showing you how to make your own homemade rain gauge or pluviometer which will be used for measuring rainfall.
Materials needed :
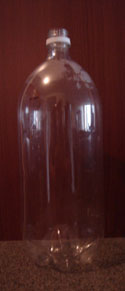
- You will need any 2 liter size Soda plastic bottle.
- Scissors
- Ruler
- Waterproof marker
- Clear plastic stencil
- Large plastic container to fit your soda bottle in
- 1 screw (Optional)
- Screwdriver (Optional)
Step 1 :
Take an ordinary 2 liter plastic soda bottle and make yourself a mark with a black marker all around the bottle-this will be the area you will cut.
Step 2 :
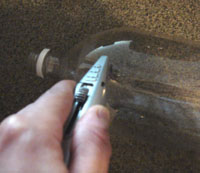
Make a slight incision on the area to be cut, so as to make it easier when you actually cut it with the scissors.
Step 3 :
Start off by cutting the top portion of the top of the bottle, about 1/3 of the way down. The bottom part should be longer since this will be the part which will store the rain water.
Step 4 :
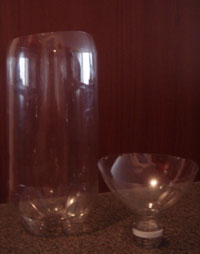
Turn the top part of the bottle you just cut in Step 1 upside down, and and place it inside the bottle. The top part will act as your funnel. This is how it looks like in the next image :
Step 5 :
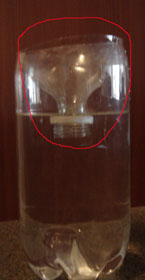
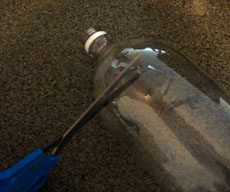
This is how the funnel looks when placed inside the plastic bottle.
For the following step, take a ruler and a clear plastic stencil on an even surface and make sure the ruler is even with the lines you are creating. Measure out a scale in millimeters(mm) using a marker.
Step 6 :
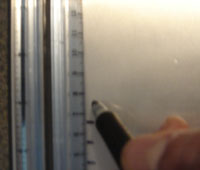
If you are doing it in centimeters, this is fine too, but usually rain is measured in millimeters(mm).
Just remember that 1 centimeters(cm) = 10 millimeters(mm) and 1 inch(in)of rain is = 2.54cm for the conversion rate.
So for example, if you have 2 cm of fallen rain, then this would be equal to 20mm of rain.
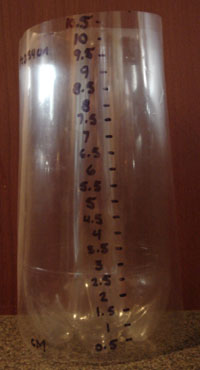
Then you can take that clear plastic stencil you created in step #6 and align it with the bottom of your container or place it inside the plastic soda bottle like in the picture below. You will use this for measuring rainfall.
Step 7 :
You might want to place your homemade rain guage in a large plastic container and either screw it down on a wooden board or in a flower pot. Either way that you choose, this will prevent it from tipping over with the wind or have some animal tip it over.
Place your homemade rain gauge in an open area. Don't place it near or under trees or near the house. Weather you choose to go with a homemade rain gauge or one that you buy, they are both good for measuring rainfall.It's always fun to make your own homemade rain gauge, but if you don't want to fiddle around,you can buy a pluviometer, that's the more technical word for a rain gauge.
It is totally up to you which one you decide to go with. I am still working on this page, I will have more pictures illustrating how to screw down your rain gauge to either a wooden board or flower pot.
